So you've got a new rudLights alphabet board huh? By now you should have seen the built-in things it can do, so you're now ready to find out what else it can offer.
Please allow me to present...
The App(!)
Yep, you read that right. There is a companion app for rudLights that allows you to display, and even save, custom messages on your board. There are a few things that need to be done first in order to get your Android device talking to your rudLights board. Just follow the Setup and Installation steps below and it should be up and running in no time. Then move on to Usage to see how to, well, use the app.Setup and Installation
Getting your new app settled in and running.Step One
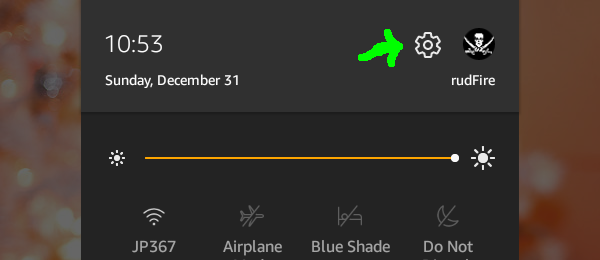
In which we enable third-party apps to run on the Amazon Fire.First thing we need to do is get into the Settings menu on the Fire. Swipe down
from the top and tap the little gear icon.
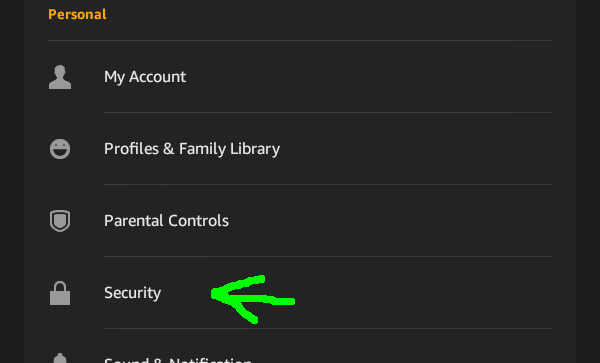
Then we're after the Security section, with the little padlock icon.
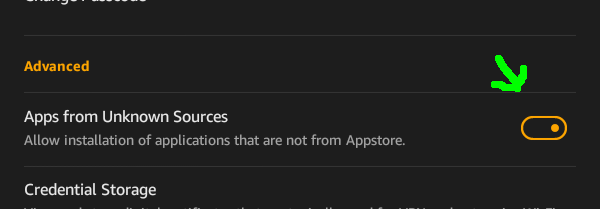
And after that we want the "Apps from Unknown Sources" switch. Tap/slide that switch
to allow your Fire to run the rudLights app.
Step Two
In which we pair the rudLights Board to your Fire.We need to get back to the main Settings menu again. You can tap the Back button
a few times to get there, or close Settings and re-open it from the gear icon.
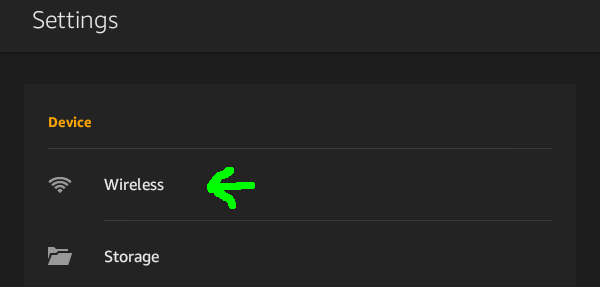
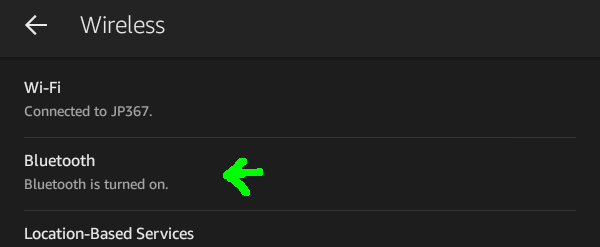
From there we want to go into the Wireless menu.
And then into Bluetooth.
In the Bluetooth menu tap on the option to "Pair a Bluetooth Device."
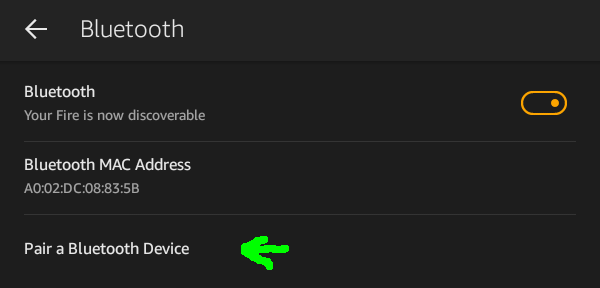
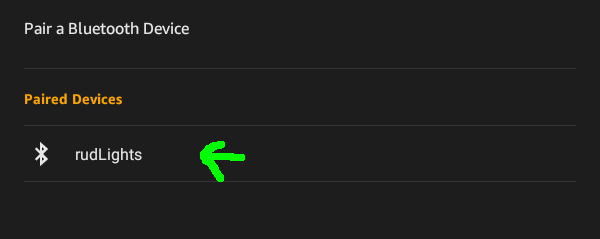
With your Fire nearby your rudLights Alphabet Board you should see a device named
"rudLights" in the list. Select that one and it will ask for a pairing code. That
code is "1234" then the Pair button. Sorry, I didn't get a screenshot of that one.
But you should then see rudLights under the Paired Devices header.
Step Three
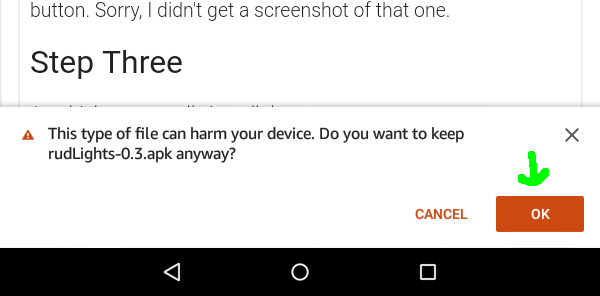
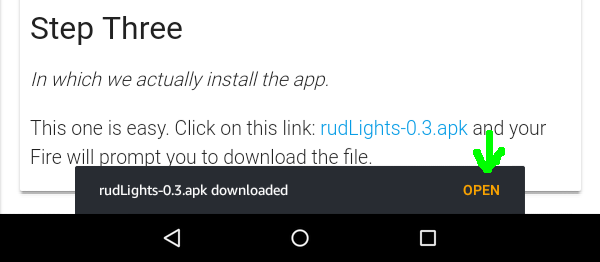
In which we actually install the app.This one is easy. Click on this link: rudLights-03a.apk
and your Fire will prompt you to download the file. Don't worry about the warning that it
could harm your device, I wouldn't do that to you.
Then you'll see a little bar appear at the bottom of your screen that has an Open
button. Go ahead and tap that Open to run the installer.
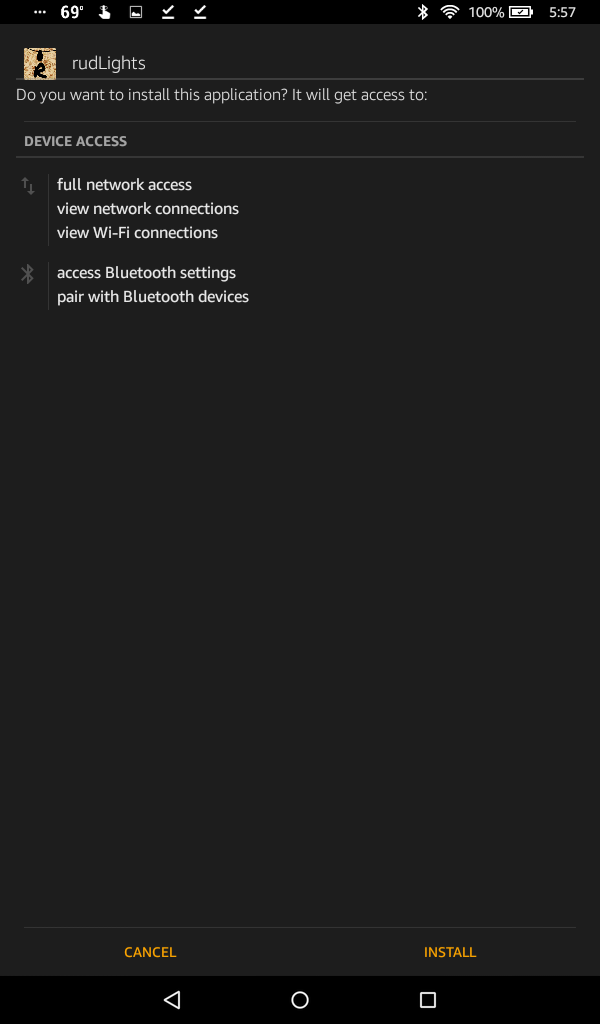
This screen tells you that the app wants access to your Wi-Fi connection and Bluetooth
paired devices. Tap on "Install" in the lower right to actually, finally, install the
rudLights app to your Fire.
You'll see the installer think for a little bit, and then it will tell you "App Installed." You can press the "Done" button and close everything back to your home screen to see the icon for rudLights on your home screen. Or you can go ahead and press "Open" to just go straight to the app and the next section.
Usage
Care and feeding of your rudLights alphabet board.
Get Connected
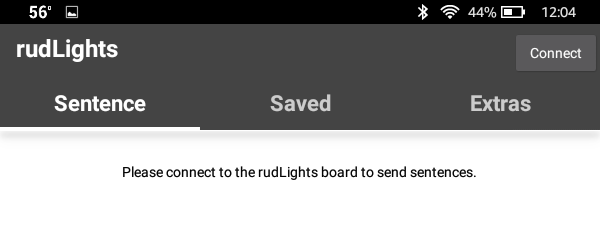
In which we connect the app to the board.So we've got the Fire paired to the board. But you've started up the app and all you get is a
message to connect...
Go ahead and tap the little button in the top right corner that says Connect
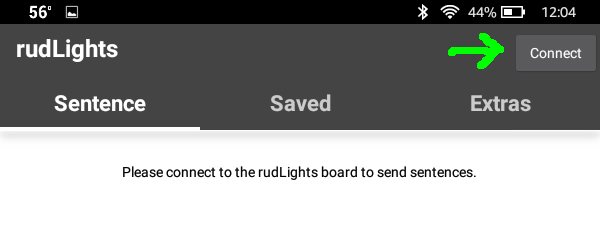
That pops up the list of Bluetooth devices the Fire knows about. Tap on "rudLights" in that list.
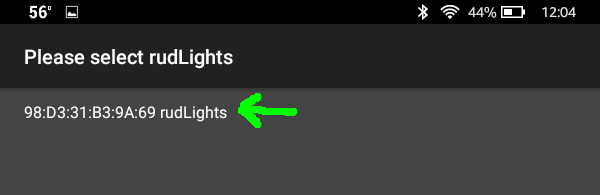
It will think for a little bit, then it'll drop you back to the main page of the app but with a
text entry box this time!
Sentence
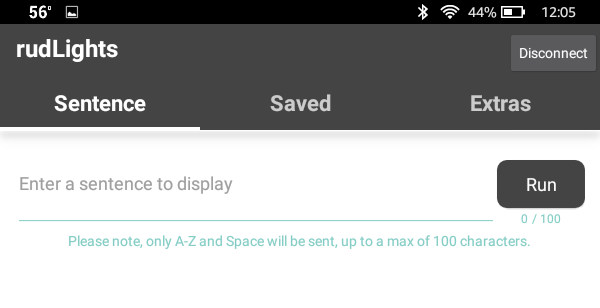
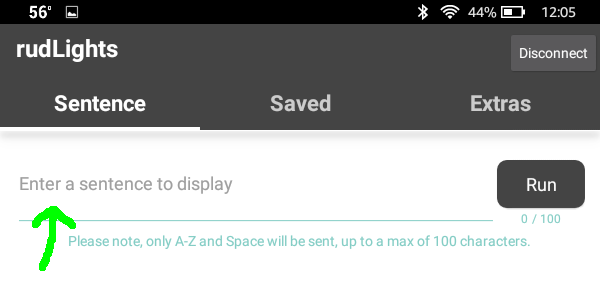
In which we send a sentence to the alphabet board.Now you can tap in the text entry field where it says "Enter a sentence to display." Like the hint
below the box says, only the letters A through Z and the Space character will be sent to the alphabet
board, with a max character count of 100.
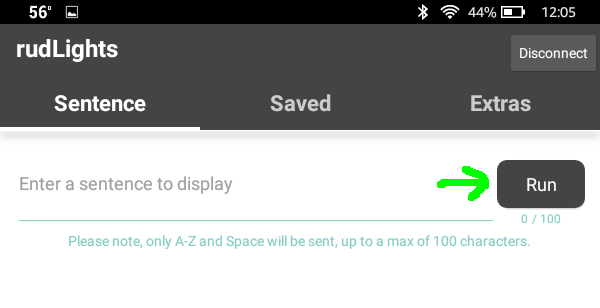
Once you've got a sentence put in the box go ahead and tap the "Run" button to have it show up
on the alphabet board. Any extraneous characters, like numbers or punctuation, will be stripped out of
the sentence when you tap "Run." Any characters past the 100 count limit will be removed as well. I
chose 100 as a limit because each character displays on the board for 1.5 seconds, and at 100 characters
it will take a full two and a half minutes to display a message!
Saved
In which we save sentences to the alphabet board's memory.You'll see that there is another tab there named "Saved." Just like it sounds, from that screen
you can write sentences to the alphabet board and save them in its internal memory. It doesn't look
like much right now though. After you've saved some things this list will show the sentence that is
stored in each slot.
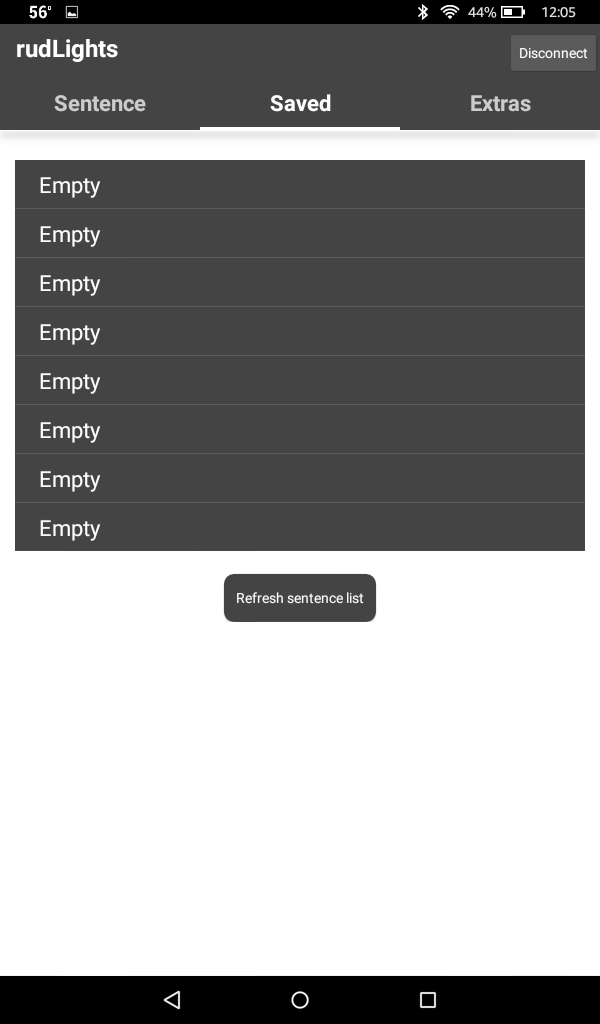
Saved sentences will stay saved through power being disconnected, and are editable and replaceable.
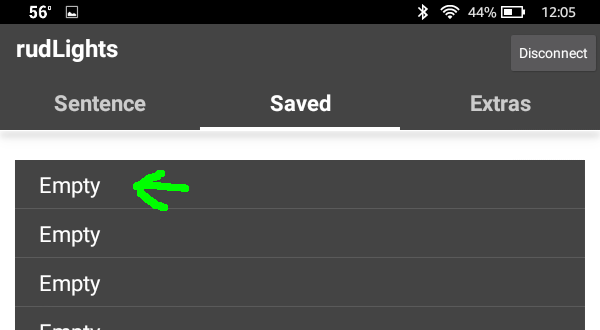
To get started saving a sentence go ahead and tap the first "slot" that says "Empty."
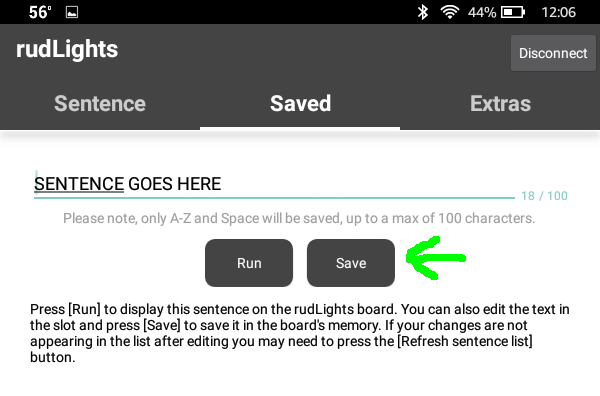
This brings up a text entry box that looks quite similar to the "Sentence" page. In fact it works
the exact same way. You can type a sentence into this box and press "Run" and it will behave just like
the last section and the sentence will be spelled out on the alphabet board.
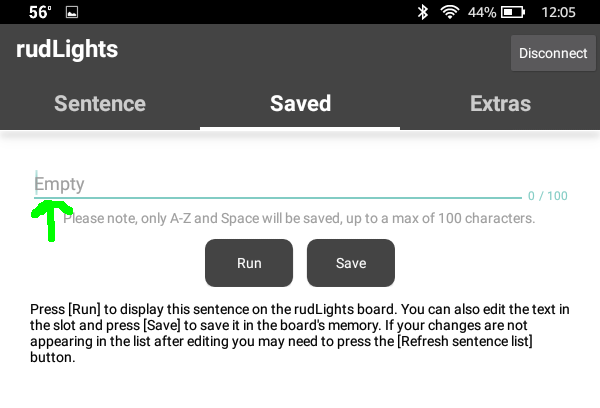

The important part of this page is that extra button that says "Save." As you can imagine, once you
have entered a sentence in this text box you can press the "Save" button and it will write it to the
on-board memory of the alphabet board. You can save up to eight different sentences to the board. Any
sentences that are save are also available to the randomizer and will show up when the board is just
sitting there running.
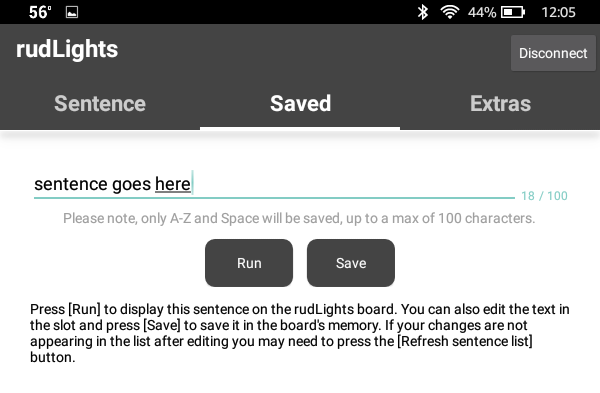
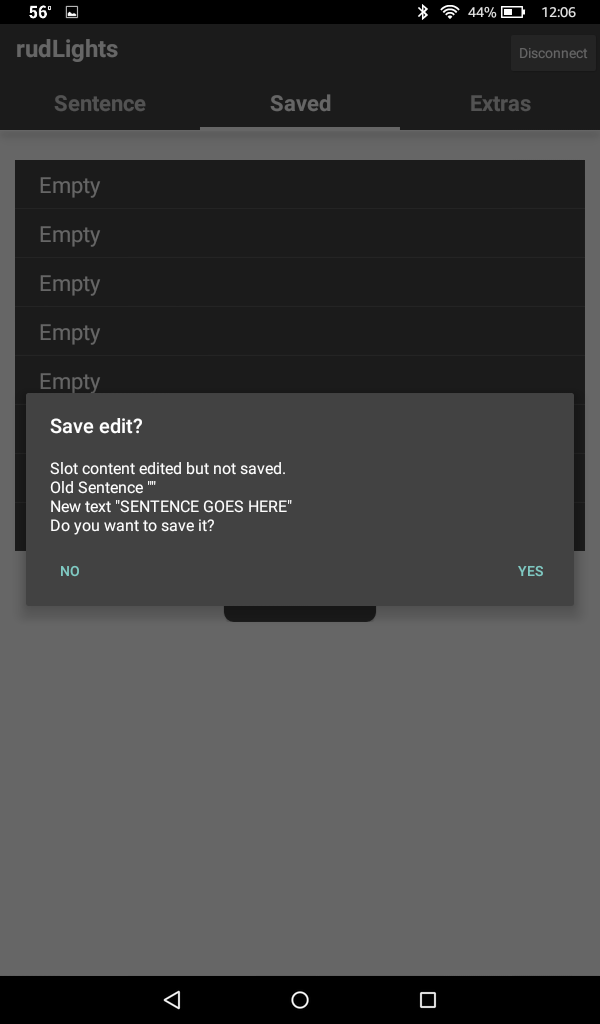
One thing to make note of in regard to saving sentences is that if you enter a sentence and press
"Run" the app will be aware that a sentence has been modified. If you attempt to leave the "Saved"
page without saving an edited, freshly-run sentence, it will pop up an alert asking you if you want
to save that slot before you leave. If you do not wish to save the change(s) that were made simply
tap on the "No" button. If you did mean to save, just tap the "Yes" button and the change(s) will be
saved to the slot that was being edited.
On a side note... You may have noticed a button below the list of memory slots that says "Refresh
sentence list." If you have saved a sentence, or made a change to an existing saved sentence, and it
does not appear to be updating in the list of saved sentences, you can just tap that button to, well,
refresh the list of sentences. This causes the app to ask the alphabet board for everything currently
saved in its memory.

Extras
In which we make the alphabet board do something besides speak from The Upside Down.The third and final tab in the app is the "Extras" tab. This is where you'll find buttons to run
the things that don't really have anything to do with sentences.
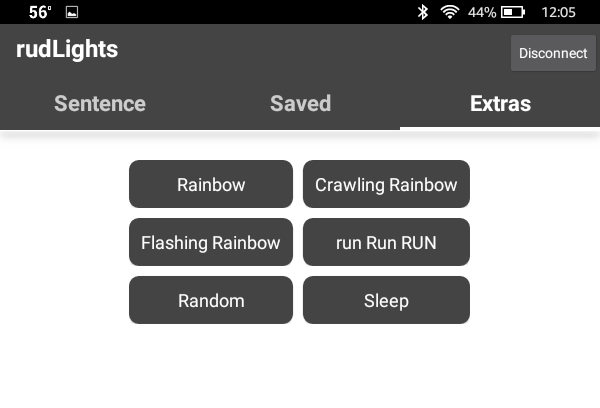
- Rainbow - Causes all LEDs to slowly cycle through the color spectrum simultaneously.
- Crawling Rainbow - Causes a rainbow to slowly "crawl" along the whole light strand.
- Flashing Rainbow - This shows a flashing, fast-crawling rainbow along the whole light strand.
- run Run RUN - Shows the special "Run" sequence, inspired by the show.
- Random - Tells the alphabet board to pick an extra or a sentence at random and display it.
- Sleep - Tapping the Sleep button will turn off all the LEDs until either the Sleep button is tapped again, or power to the alphabet board is cycled, i.e. unplugged-and-re-plugged.
Program it
Let's make that hardware do something.So you want to know more about how the rudLights alphabet board works?
Please allow me to present...
The Code(!)
The rudLights app was made with Thunkable, and the board itself is basically just an Arduino with a wireless connection. Both the Thunkable project file and the Arduino code are freely available under the GPLv3, and can be downloaded from the GitHub repository.Build one
The construction of the rudLights alphabet board.Want to know more about the hardware of the rudLights alphabet board?
Please allow me to present...